

-
Productswith more than 15 years brushes working experience

-

Sculpt and Define: Step-by-Step Guide to Contouring with an Angled Concealer Brush
Release Time:
Jan 27,2025
Sculpt and Define: Step-by-Step Guide to Contouring with an Angled Concealer Brush Table of Contents Understanding Contouring: What You Need to Know Tools of the Trade: Choosing the Right Angled Concealer Brush Best Contouring Products: Creams vs. Powders Identifying Your Face Shape for Perfect Contouring Prepping Your Skin: The Essential Steps Before Contouring Step-by-St
Sculpt and Define: Step-by-Step Guide to Contouring with an Angled Concealer Brush
Table of Contents
- Understanding Contouring: What You Need to Know
- Tools of the Trade: Choosing the Right Angled Concealer Brush
- Best Contouring Products: Creams vs. Powders
- Identifying Your Face Shape for Perfect Contouring
- Prepping Your Skin: The Essential Steps Before Contouring
- Step-by-Step Guide to Contouring with an Angled Concealer Brush
- Blending Techniques: Making Your Contour Flawless
- Maintaining Your Contour: Setting and Touching Up
- Conclusion
- FAQs about Contouring with an Angled Concealer Brush
Understanding Contouring: What You Need to Know
Contouring is a makeup technique that has taken the beauty world by storm, allowing individuals to enhance their facial features and create a more sculpted appearance. At its core, contouring involves using darker shades to create shadows and lighter shades to illuminate certain areas of the face. This art form, when done correctly, can dramatically redefine your makeup look.
**Why Contouring Matters**: Contouring is not just about applying products; it's about understanding light, shadow, and facial anatomy. It helps to emphasize your bone structure, refine your appearance, and enhance your natural beauty.
Tools of the Trade: Choosing the Right Angled Concealer Brush
An angled concealer brush is a crucial tool for contouring, as it allows for precision and control during application. When selecting the right brush, consider the following aspects:
- **Brush Material**: Opt for brushes made from synthetic fibers, as they are easier to clean and work well with cream and liquid products.
- **Angle and Size**: An ideal angled concealer brush should have a tapered tip for precision and an adequate size to cover larger areas of the face without being unwieldy.
- **Brand Recommendations**: Look for reputable brands known for their quality brushes, such as Sigma, Sephora, or Real Techniques.
Best Contouring Products: Creams vs. Powders
Choosing the right contouring products is essential for achieving a seamless finish. Let's explore the two main types: creams and powders.
Cream Contour Products
Creams typically provide more blendability and a dewy finish, making them ideal for dry skin types. Here are some recommendations:
- **Cream Contour Kits**: Look for kits that include multiple shades to create a customized contour.
- **Stick Formulas**: These are convenient for on-the-go application and allow for easy blending.
Powder Contour Products
Powder contours are great for oily skin types, as they set quickly and often provide a matte finish. When considering powders, choose:
- **Contour Palettes**: Multi-shade palettes offer versatility and allow you to mix shades for a perfect match.
- **Loose Powders**: These can be easily blended and layered for a more dramatic effect.
Identifying Your Face Shape for Perfect Contouring
Understanding your face shape is fundamental for effective contouring. The primary face shapes are:
- **Oval**: This shape is versatile and can adopt various contouring techniques.
- **Round**: Focus on elongating your face by contouring the sides of your face and under the jawline.
- **Square**: Soften the angles by contouring the forehead and jawline.
- **Heart**: Contour the chin and temples to achieve balance and symmetry.
- **Long**: Focus on contouring the forehead and chin to create the illusion of width.
Each face shape has unique contouring strategies to enhance its features effectively.
Prepping Your Skin: The Essential Steps Before Contouring
**Prepping your skin is crucial for a flawless application**. Follow these steps for the best results:
1. **Cleanse Your Skin**: Start with a clean base to avoid any build-up of oils or impurities.
2. **Moisturize**: Use a lightweight moisturizer to hydrate your skin without making it greasy.
3. **Prime**: Apply a primer suited for your skin type to create an even canvas for your makeup.
4. **Foundation**: A well-blended foundation helps to unify your skin tone before contouring.
Step-by-Step Guide to Contouring with an Angled Concealer Brush
Now that you're armed with the right products and knowledge, let’s dive into the step-by-step application process for contouring using an angled concealer brush.
Step 1: Choose Your Products
Select the right shades for your contouring products. A contour shade should be 1-2 shades darker than your foundation, while a highlight shade should be 1-2 shades lighter.
Step 2: Map Your Face
Using your fingertip or a pencil, lightly mark the areas you want to contour and highlight:
- Contour: Under the cheekbones, along the jawline, sides of the nose, and the hairline on your forehead.
- Highlight: The tops of your cheekbones, bridge of your nose, center of your forehead, and chin.
Step 3: Apply Contour with the Angled Concealer Brush
Using the angled concealer brush, pick up your contour product and apply it to the mapped areas. Use short, controlled strokes to ensure precision.
Step 4: Blend, Blend, Blend!
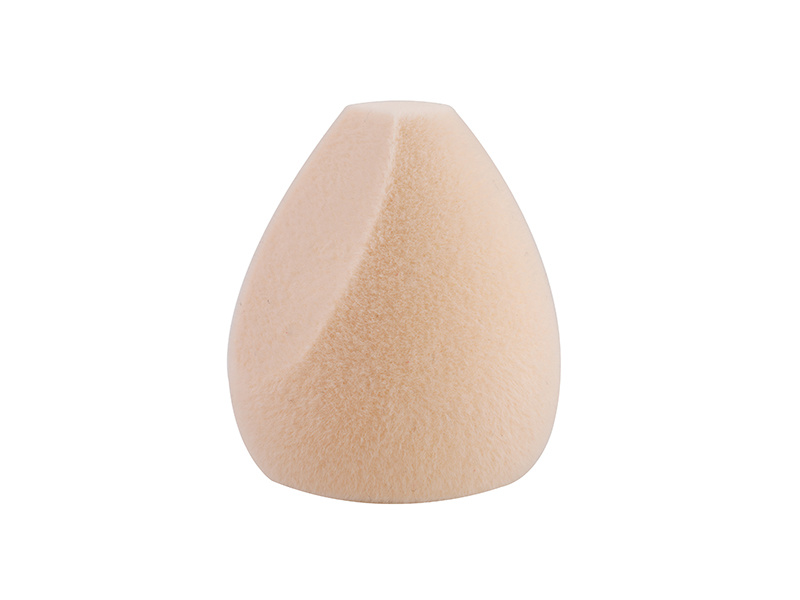
After applying your contour, use the same brush or a clean blending sponge to blend the product seamlessly into your foundation. Focus on blending the edges to avoid harsh lines.
Step 5: Highlight
With a clean angled brush or your fingertip, apply the highlight product to the areas you mapped out. Blend gently to maintain a natural glow.
Step 6: Set Your Makeup
To ensure your contour and highlight last all day long, set your makeup with a translucent powder or a setting spray.
Blending Techniques: Making Your Contour Flawless
Blending is the key to a natural-looking contour. Here are some techniques to achieve a flawless finish:
- **Use a Dabbing Motion**: When blending, use a dabbing motion rather than wiping, as this helps to keep the product in place.
- **Layer Products**: Start with a light application and gradually build up coverage as needed.
- **Use the Right Tools**: A damp beauty sponge can provide a soft finish, while a brush can help achieve a more defined look.
Maintaining Your Contour: Setting and Touching Up
To keep your contour looking fresh throughout the day, consider these tips:
- **Setting Powder**: After application, dust a light layer of translucent powder over your contour to set it in place.
- **Touch-Up Kit**: Carry a small travel kit with your contour products and a brush for touch-ups during the day.
- **Setting Spray**: Finish with a setting spray to lock in your makeup and prevent fading.
Conclusion
Contouring may seem intimidating at first, but with the right tools, products, and techniques, anyone can master this art form. Utilizing an angled concealer brush allows for precision and control, enabling you to create a sculpted look that enhances your natural features. Remember to blend well, identify your face shape, and prep your skin for the best results. With practice, contouring will become an effortless addition to your makeup routine.
FAQs about Contouring with an Angled Concealer Brush
1. Can I use an angled concealer brush for other makeup applications?
Yes, an angled concealer brush is versatile and can also be used for applying eyeshadow, blending concealer, and even applying highlighter.
2. How do I choose the right shade for contouring?
Select a contour shade that is 1-2 shades darker than your foundation. For highlighting, choose a shade 1-2 shades lighter.
3. Is cream or powder contour better?
It depends on your skin type and the finish you desire. Creams provide a dewy look, while powders offer a matte finish and are easier to set.
4. How long should I blend my contour?
Spend at least 1-2 minutes blending your contour to ensure a seamless and natural appearance.
5. Can beginners learn to contour effectively?
Absolutely! With practice and the right techniques, beginners can achieve great results in contouring. Start with light products and gradually build your skills.
With this guide, you're well on your way to contouring mastery, ready to sculpt and define your features like a pro!
Keywords:
Dongguan City Alpha Brush Factory Inc.
Add: 3F Building B,Hetai Industrial Zone, No.1 Datang North Road,Zhutang Village,Dongguan City, GuangDong, CN, 523690
E-mail: Lin@cosmeticbrushesfactory.com

SAF Coolest v1.3.1.2 设置面板 TVISX-ATJJ-DSZAE-ZDE
无数据提示
Sorry,The current column is being updated, so stay tuned!
You can view other columns or return Home